When you click on the View menu, you will get the first option as Overprint Preview. This option to understand requires some bit of printing knowledge. As you send any artwork for printing, some color mixing may occur, the result is the white gap between 2 colors. To override this, the option called overprint preview will be applied. This is explained in the Printing Process in the printing section of this website.
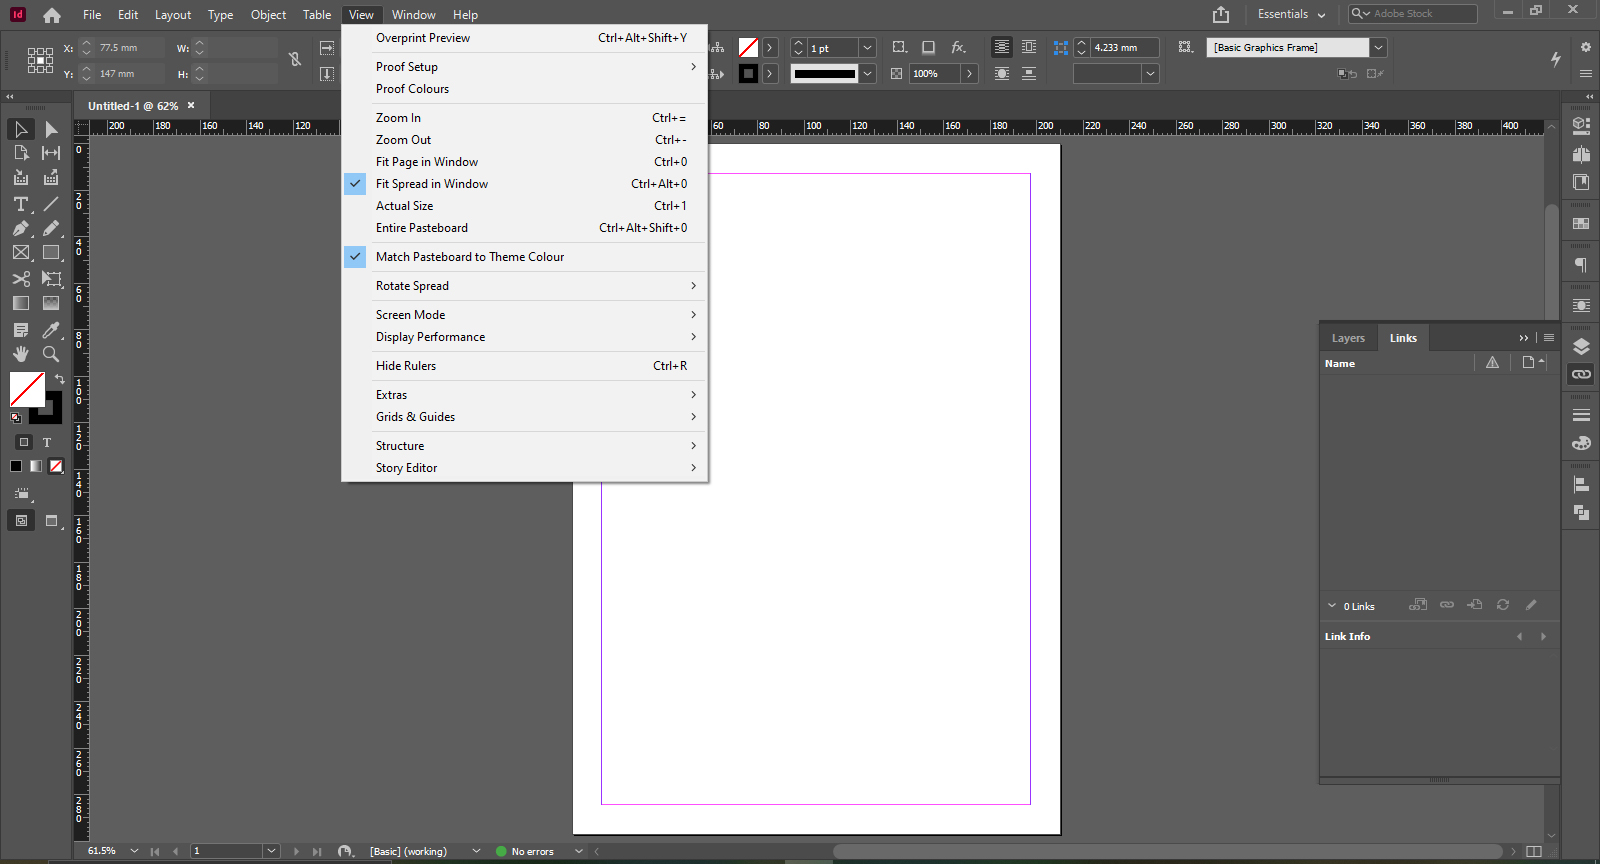
We can zoom in or zoom out of the page with the command in the view menu. When we select artwork and give the command, the artwork zooms in or out. This is used so that we can create any artwork with more detail.
There is one more command, called Fit page in window and Fit spread in window. The first option brings a single page to the center of our window after we have zoomed a particular area of the page. The second option brings the spread (it is the combination of 2 pages which is used when we are creating page spread while designing a bookwork with left and right page options. There is also an option to zoom a page to actual size, which is the percentage of zoom in which the artwork gets printed. There is one more option called Entire Pasteboard. It is the percentage of zoom which gets the page zoom which shows the whole pasteboard and the page in between.
There is one more option called Match pasteboard to theme color. This is of not much use but makes the pasteboard color to the color of the page, i.e., white color. We can even rotate a page to 90 degrees.
We have an option to view the screen mode into 4 types,
Normal – It defines the page mode as we create in normal mode.
Preview – It is the screen that hides the grid, and others on the page and shows us the screen which gets printed.
Bleed – It is the option which is the extra area we give while creating artwork for multi-color artworks for the sake of cutting the page to the edge of the artwork.
Slug – It is the option which is the same as preview
There is one more option called Presentation, which presents the artwork as slide presentations.
There is an option to Display the artwork in 3 display modes
Fast Display – This hides the images, and any vector drawings as a box frame, which increases the refresh rate of the page.
Typical Display – This is the normal display we use while creating the artwork.
High Quality Display – This display makes the images and drawing to the full resolution of the images and thereby the refresh rate of the page will be less compared to other display explained above.
We can hide rulers which is present in the left side of the page.
There are some more options that are not much use to designers like the options in the Extras option. Grids and Guides are the options that are used while using snap options for guides and objects. One more option called Structure is of not much use.