Click on Create Table, which shows a dialog box to define number of rows and columns. As we define it, we will be presented with the table. We can increase or decrease the width and height of the cells by just clicking on the like and dragging it. It can also be done by a particular command. We can also Convert Text to Table and Convert Table to Text. This is an automatic process and requires some adjustments after we give the command.
There is also a command called Table Options which has options to define the measurement of the table.
- Table setup for stylizing the table to define various options like;
- Table setup for defining the number of rows and columns
- Table Border and colour and other options
- Row Strokes, to define the strokes between rows and also colour, there is also an option to reduce the density of colours given to strokes and gap colour.
- Column Strokes, to define the strokes between columns and also colour, there is also an option to reduce the density of colours given to strokes and gap colour. There is also an option to stylize the columns
- There is an option to fill the cells in various ways, like alternate pattern between single or multiple cells
- There is also an option to define header rows
There is also an option to define the Cell Options, like;
- Cell Insets for aligning the text in cells with also an option to increase the dimension of row or column. We also have an option to align text (left, right or center) between the cells. We also have an option to offset the text in the cell. We also have an option to rotate text in a cell.
- We have an option to change the stylizing of the stroke in the table, like increase or decrease a stroke weight, changing the colour of the stroke, fill a particular cell and others…
- Define row height or column width.
- We also have an option to draw a diagonal like for a cell or even table.
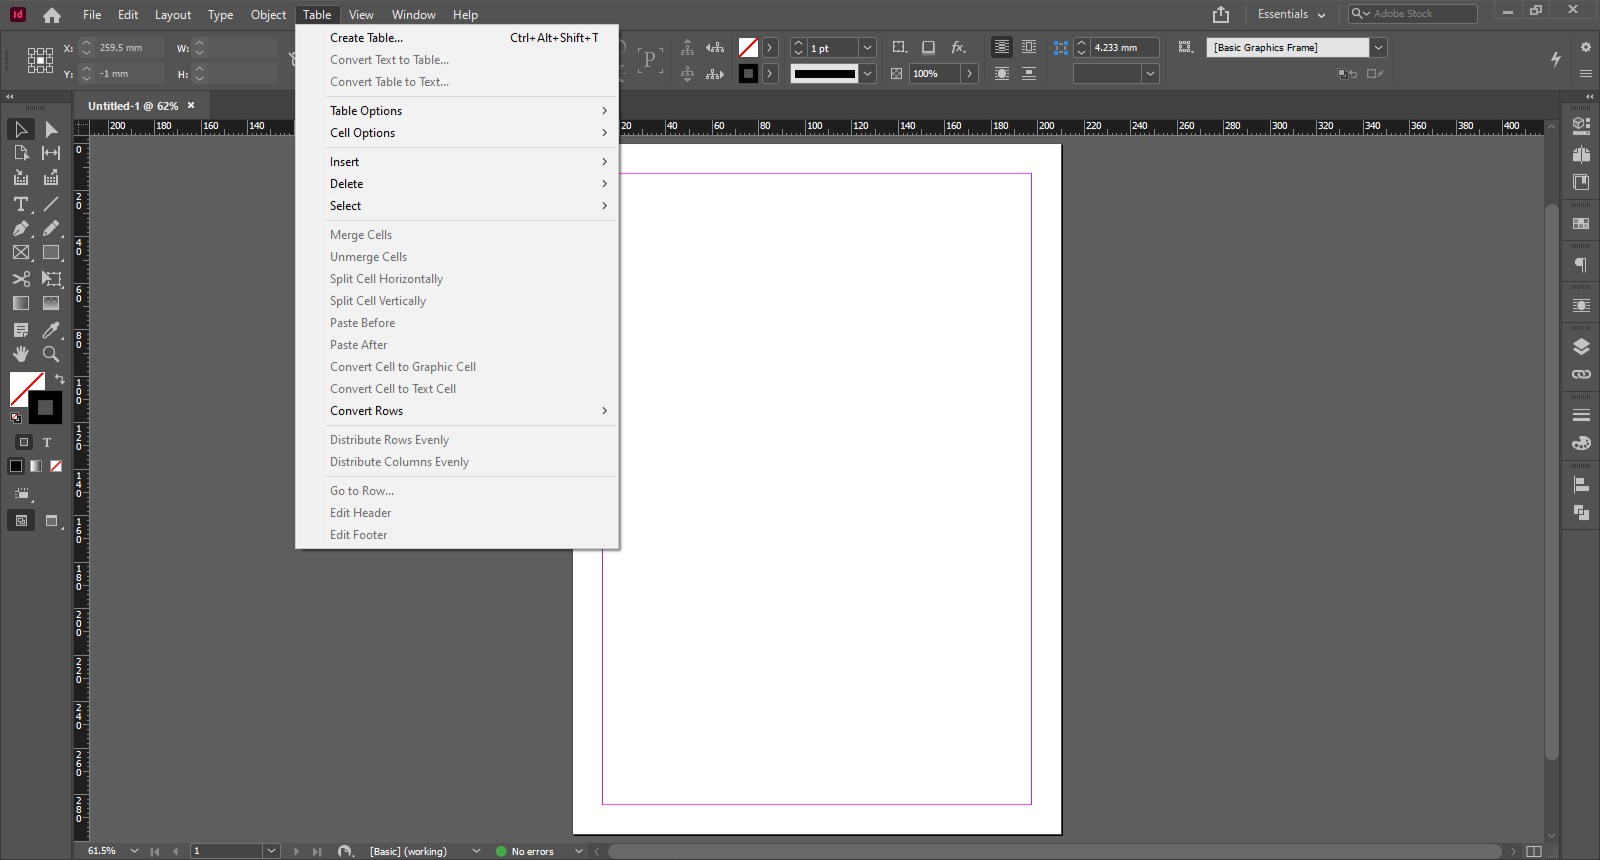
We have an option to insert a single or multiple rows or columns. We also have option to delete a particular row or column and also a whole table. We have an option to select a cell, row, column and a whole table. As we select 2 or many rows or columns, we have an option to merge them into 1 cell. We also have an option to unmerge the merged cells.
Some time, we need to break a cell into two or more columns or rows. Which can be achieved by selecting a single cell or multiple cells. We get an option to Split cells Horizontally or Vertically. There is also an option to convert a cell to Graphic and Text format and vice versa. There is an option to convert a row to a header and body and vice versa.
We have an option to convert a row or column to equal width or height by using a command Distribute Rows Evenly and Distribute Columns Evenly. There is also a command to go to particular row or particular column. We can also Edit Header or Footer.