This is a brief explanation of the opening screen in Adobe InDesign. As you start working on the software after it opens you will find a thumbnail preview of the files which are already opened in it. You will find 2 buttons “Create New” and “Open”. As you click the Create New button the dialog box to create a new file opens.
Features of Opening Screen of New File
As you click Create New, a dialog box opens, which has default paper size of A4. We can change the size which we require.
On top of the screen, there are tabs for Recent, Saved, Print, Web, and Mobile. These are all customized sizes for that particular purpose. For example, in the Recent tab, it lists the paper sizes which we have used in the recent most job.
In the Saved Tab, we will find the page sizes which we have used in the recent job. In print job, we will find the page sizes which is regularly used in the jobs which we design for print technology. The default sizes are – A3, A4, A5, Letter, Legal, Tabloid, Letter-Half, Legal-Half, B5, and Compact Disc. You can find these page sizes in the Paper-Measurements section.
In Web Tab, you can find the sizes which are customized for the web. While designing a job for web, the output should be served as HTML file. There is also page size which is customized for mobile. We can create any design which can be used for mobile purposes.
Page Preset
On the right side of the dialog box, we will find the height and width of the page size, including units of measurement for a particular job. We can find units like – Points, Picas, Inches, Millimeters, Centimeters, Ciceros, Agates, and Pixels. You can find some of the scales on this page. We can even find the orientation of the page we require.
We can customize the number of pages we require including the starting page number. We can define the number of columns and also gutter (space between the columns) for it.
There is also an option to toggle the facing pages. It is helpful when we are designing a booklet of multiple pages. We can get the track of left and right pages when we switch this on. Otherwise our file will be limited to single pages and not spread, which is the term denoted for displaying 2 pages side by side.
We can also define the margins for the page size we choose, it is customized from minimum 5mm to the maximum limit for the given page. i.e., if the page is A4, we can go till 104.5mm all sides.
We can also find the place to give bleed and slug to the given page, which is the extra size we give to the creative when we create jobs having the paper cut to the edge of the creative.
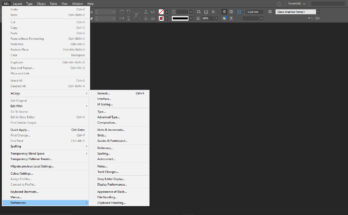
We can even preview the settings of the page we need before we finalize the page size for creating our artwork. Once we have customized and finalized the sizes, then we will not be able to get them in one place.
A new file if opened has some info to look after, which are given below;
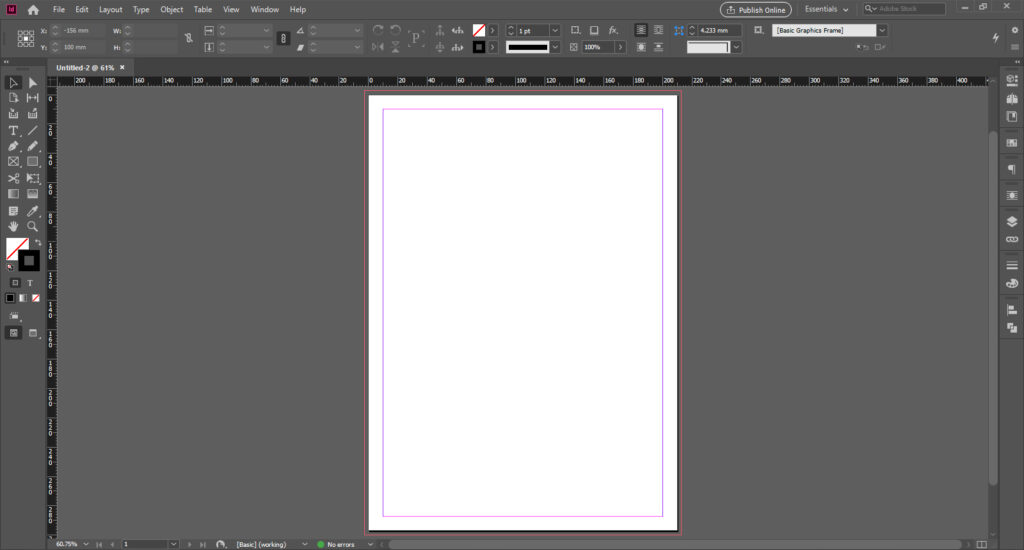
Display of a New file
A new file after opening has these parts which we should look after.
The White area in the center is our page for which we should create the artwork. It has a coloured line inside it is called the margin, which is also called as gripper margin in the printing field.
An outline in the outside the page is the bleed area. We use bleed area while designing the jobs for offset, which involves to cut the paper to the edge of the image. The bleed will be 3mm default placed outside the given page size. While printing the print file will be made as a custom size with cutmarks to the 4 sides of the page and it will be cut while trimming it to the final size.
The grey area around the page area is called the pasteboard. It is used for placing any images we use while creating the artwork. The images placed in the pasteboard will not get printed. So it is useful to trial and error any artwork before placing inside the page.
The Ruler bar which is on the left side and top of the page is used for sizing any elements on the page to correct size. We can customize the ruler to our required units, like cm, inches, and other sizes which are explained in the last article under Page Preset.
The Toolbox which was explained in the initial articles is placed on the left side of the page. If the toolbox is not appearing, it can be switched on through the Window menu and scroll down to find Tools.
In the right side of the page, we find some icons which are the dialog boxes used while designing the artwork. It is like a shortcut for many options which we use instead of going through the menus to search for particular commands.
We can find the Control Panel of the file which is at the top of the page, below the menu bar. It gives us complete control of the file. The options in it change according to the option we have chosen and also according to the tool which we are using.
Other Features of New File
Page size in Adobe InDesign can be customized according to the artwork to be created for our purpose. The page size ranges from 1mm x 1mm to 216 x 216 inches.
We can even find the scroll bar in the right side of the page and also in bottom, which helps pan through the artwork created, if the page is zoomed to get the clarity of the artwork we are creating.
We can even find the zoom percentage of the page in the bottom of the page shown in percentage. Next we can find the page number, as we click on the carrot symbol beside the number we can find the number of pages in that particular file. Next we find the words embedded between the brackets “[Basic] (working)”. It is the Preflight Profile, which will be explained in later articles.
Next, we find “No errors” or “Errors found”, which specifies the file before we take an output of the file. It scans the whole file we have created and notifies any errors which are existing in the file.