This is a special procedure where we can gather all the required files for any type of output.
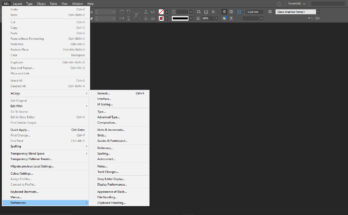
We can go to Package, which is at the bottom of File Menu, or even Keyboard command Control + Alt + Shift + P.
It opens a dialog box where there are many tabs, and first is the overall summary of the option which shows the number of fonts in the particular file, we can find the missing fonts, embedded fonts and also protected fonts.
We can also find the number of links and images used in the file, modified, missing and other images. There is also option to find the colour mode and also details of External plugins used in the file. Also is the pagination option if used in the file can be found here. We can also find the option for creating report of the package and what comes in the file can be generated before packaging the files.
Next comes the fonts tab. It shows the number of fonts used in the file and also its names. it also shows which are missing, or embedded, incomplete, and protected. If we click on any font, it shows the location of that particular font, which is also helpful in replacing the font through a button below it. There is also an option to show only the problematic fonts in the file.
Next comes the option to show the Links and images found in the file. It lists the images, their types, like RGB images, CMYK images, PDF, or other formats. It also shows the status or images like linked or unlinked and also the ICC profile used for the images. We also have the option to look into the features of the image when we clicked on any image in this tab. It also shows the PPI (Pixel per inch) of the images like actual PPI and also effective PPI of the images.
Next tab shows the Colours and Inks used in the file, like the number of process colours, spot colours and others used in the file. Then comes the Print Settings which shows the default printer in our system and its features. Next comes the external plugins section.
After all the settings are made we can click on package button. It takes us to a different dialog box, where it shows the path where we can save the files It shows option to save the fonts used in the file, copy linked graphics, update the graphic links in the package (graphic links are just the images used in the file). Option to include fonts and links from hidden and non-printing content (these are just the elements which are in the pasteboard and not on any page in the file).
It has options to save the InDesign file in an .idml format (IDML is just the indesign files saved in the lower version, so that the file can be opened in the past versions). There is also an option to include a pdf format of the file which helps the user of the file a draft of how the file looks, in case there is any problem after it is opened in any other place. It shows the PDF preset, which shows the different resolutions of the pdf like, the press quality, high quality, smallest file size and others and also an option to see the report before the actual package happens.

Next comes the folder name where the files are saved. It is basically a folder which has sub-folders like links (this is the folder where the links are copied), fonts (this is the folder where the fonts used in the file are copied), Next the open file with IDML is copied in the root directory.
Next click on the package button, where it gives a notification that the fonts used are copyrighted in the adobe and use it according to the license agreement. This is shown in detail in the image attached. Click OK and the procedure starts to perform the package. The file gets ready.