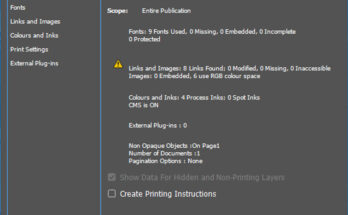
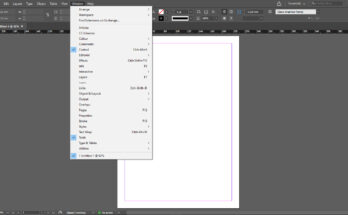
There are many options in Preferences, to go there click Edit Menu and then scroll down to find Preferences and click it. We get many options and I will explain some options which designers use frequently.
Click on General, which takes to a dialog box. It has options to set Page Numbering and scaling of stroke and effects. Next comes the interface option, here we can set the colour theme of the background in InDesign UI and other UI settings. Next, we can go to the Type option. Here we find options for adjusting the text while we are designing an artwork. Next comes the Advanced type, here we have options to adjust the size of Superscript and Subscript.

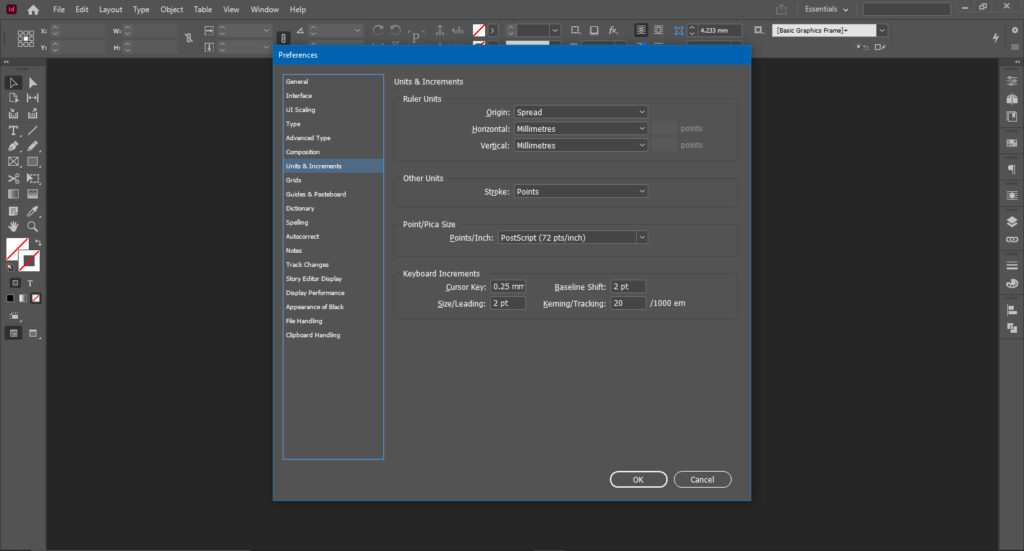
Next comes the Units and Increments, this is one of the important option, where we set various options. First comes the Origin, which shows the options as;
Spread – This is the option to select when we have 2 pages appearing side by side while designing a multi-color brochure or book works, which requires left and right pages to be designed differently.
Horizontal and Vertical – This is the setting where the rulers will be set for various dimensions like, Millimetres, Inch, and other dimensions.
Next is Other units, where we have option to set a dimension for thickness of stroke as points and millimetre. Points are defined as 4 points is equal to 1 mm. Next is the Point/Pica size, which is defined as the sharpness of letters while using a postscript options in plate making before the artwork goes for offset printing.
Next comes Keyboard Increments, which has options like;
Cursor key – This option is used while we want to move an element to specified distance. We can define it for minimum of 0.1 mm. to more than 100 cm for maximum distance.
Kerning / Tracking – This is the space between 2 characters which we can control by selecting the text and giving keyboard command as Alt and Right/Left arrow key.
Other 2 options are not to be bothered.
Next comes Grids, which is basically the setting for the document grid that we put while aligning an object to one another. Next comes the setting for Guides and Pasteboard, which is the extension of Grids. Next comes the setting of Dictionary, which has setting for the language we use while designing the job and also some setting for text. Next, we have the option for Spelling and some grammatical corrections. Next, we have the option for Autocorrect words according to the language dictionary specified. It looks into the text changes while we type and automatically matches the word suggested in the dictionary.

Next, we can look into Story Editor Display, where we have the option to change the text style while we are looking into Story Editor, which can be invoked by right-clicking on the selected text and selecting Edit in Story Editor or Keyboard command Ctrl + Y. Here we have options for selecting text options while we are editing text in story editor, and also cursor display.
Next, we have options for Displaying Images in various resolutions while we are creating an artwork. Normally speaking, if the display is set to High Quality, the images will be displayed in high resolution and makes the page render slowly. If the display is set to fast, the images are displayed as grey box and will render very fast. If the display is set to Typical, the rendering of the page is normal and we can see all the elements according to the speed of our computer. We also have the setting to adjust the display of image resolutions according to our wish.
Next comes the setting for Appearance of Black on the screen. There are 2 options. 100% Black and Rich Black. We can select anyone which suits our view. We also have the option for overprinting black on top of other colors.
Next 2 options are for advanced InDesign users and so will not be explained here.


