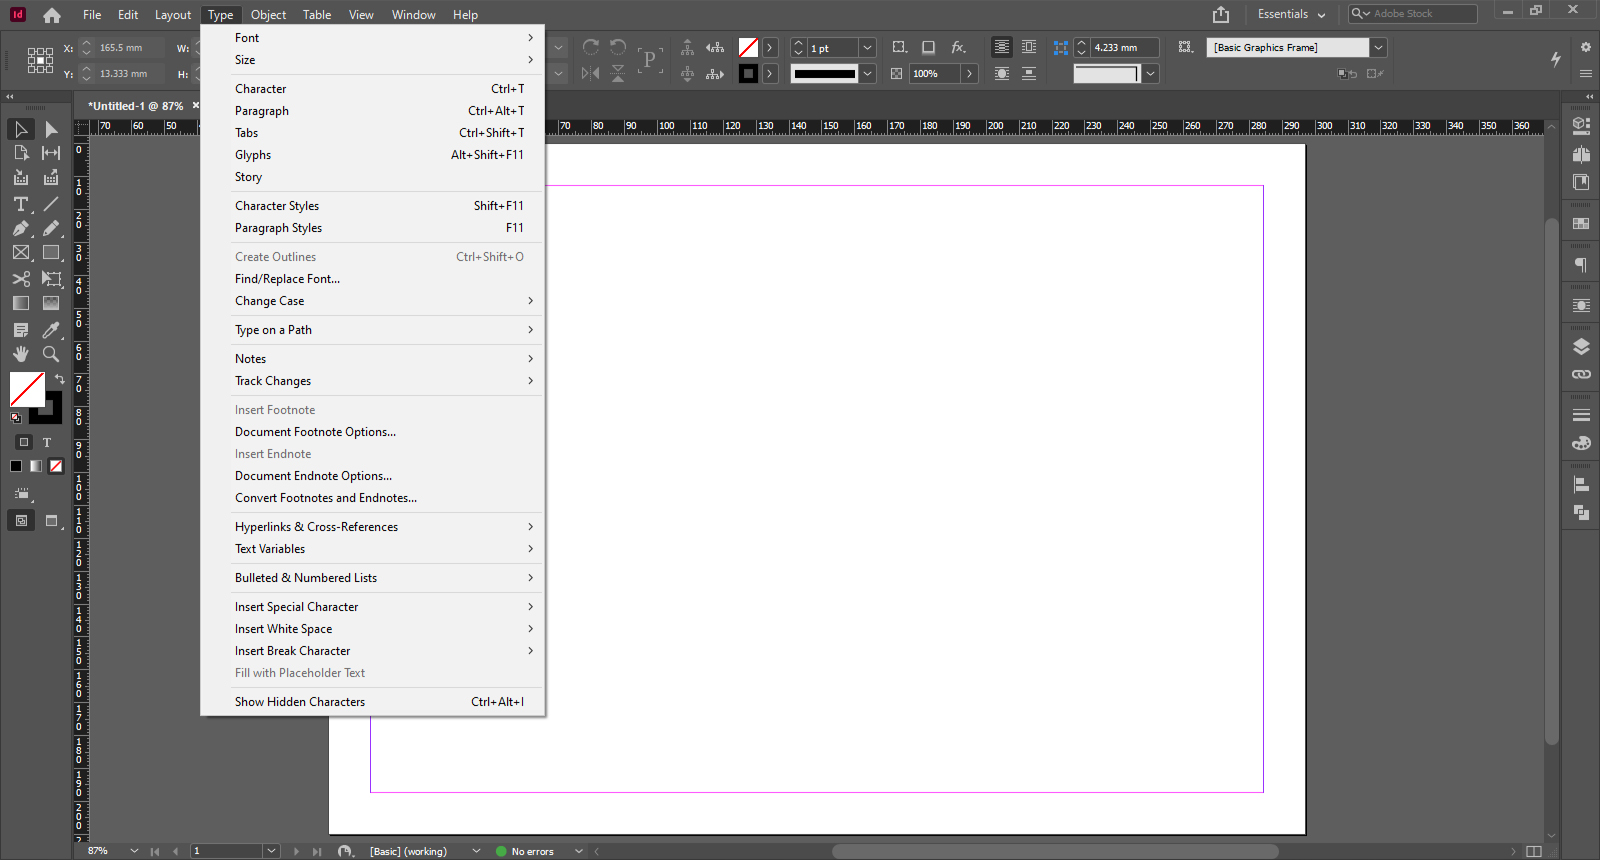
Type Menu is one of the important menu in Adobe InDesign. There are many options, but not all are used while designing an artwork. I am going to list only which is useful for a designer. Many options present in the Type Menu can be achieved by using the control panel present on top of the page. It shows the options according to the tool we use.
After selecting a text through a text tool we can select any Font of our choice. We can also select the Size of the letters which is given as points.
If we want to customize the features of the Character tool while we are working with the file, we can customize the font, size of text and also the line spacing. It is calculated as 120% of the font size. It can also be customized to increase or decrease the spacing. We also have the option of increasing the spacing between the letters. We can extend the width and also height of the letters of our choice. We can also change the position of the letters to place it on top or bottom of the baseline. We can also give an angle to increase or decrease the italization of the letters. We can also change the language setting of the text.
We have a Hamburger Menu on the right side of the dialogue box. We can get some more options to play with the text we have. After selecting the text, we can convert the text to All Caps, Small Caps, SuperScript and SubScript. We have the option to give an underline and strikethrough the letters. If we need to stylize the underline to our choice, we have the option, so that we can change the thickness of the line and also colour and distance between the line and text. We can also stylize the stroke in strikethrough to change the colour of the line, stroke thickness, offset of the stroke. We can also change the percentage of the colour we use. We can also overprint the stroke.
If we want to customize the features of the Paragraph tool while we are working with the file, we can customize the alignment of the text to Left, Right, Center, Justify, Center Justify, Right Justify, Force Justify and others…
We also have the option to change the margin of the text block. We can give left spacing, right, top and bottom. We can also give spacing between the paragraphs. If we need to give the drop cap, we can do it and this is also customizable to number of lines we suggest. We can also suggest how much letters to apply for drop cap. We also have an option to apply shading and outline to the text we have selected. We can also customize it by clicking on the icon by holding the Alt Button in the Keyboard. It gives us the options to change the shade percentage, colour and others. We can also change the stroke thickness, offset between the letters and also corner options to the stroke. We can also toggle the hyphenation of the selected text.
We also have hamburger menu with many other options in Paragraph tool. As we click it, we get an option called justification. We can change the word spacing in the selected text by changing the percentage of word spacing. We can also customize the letter spacing here also. There is an option called Auto Leading, where we can change the percentage by which it changes the line spacing to the selected text. We can preview the changes before we finalize the options we change in this dialog box.
We have an option to split the paragraph text to multiple columns by selecting Span Columns, which provides option to split columns in Paragraph Layout. We can define number of columns, inside grid and also outside grid. We have the control to change the settings of Hyphenation. Here we can control number of letters to hyphenate and also better spacing between words for hyphenation. We also have a setting to control the nested styles and also drop cap for the paragraph text.
We have a special option to set paragraph rules for paragraph text, where we can customize rules before and after the text. It gives us the option to change the style of rules and also offset between the rules and text. We can also change the weight of the rules and also colour of the rules. We have also option to define border to the given paragraph text and also shading to the text which is selected. It affects the paragraph where the text is selected. We also have the option to define Bullets and numbering, where we have the control of defining the type of bullets to use on the selected text and also we can change the bullet style and also size. We can define the indent between the bullet and also the text.
We have the option to set the Tabs to the text, where we can create tables. This will be explained in detail in another post. We have an option called Glyph where we can store symbols and characters which are being used in a particular artwork. This speeds up the work so that we can apply the symbols or others in ease.
We have an option to make a text as un-editable (create outlines). We use this option when we should send our file to another place, so that there may be no problem with the file like font substitution, alignment change and other things. We have an option to Change Case of the text which we have selected to Upper Case, Lower Case, Title Case and Sentence Case. We also have an option to type text on a path we have drawn. This option is also present in the tool bar.
We have an option to Insert Footnote for the given text, which can be customized by Document footnote options, where we can apply numbering style, and also spacing between each footnotes. We also have the option to insert Endnote, where we can explain the features of footnotes in the end of the document. We also have the option to customize Document endnote options. We also have the option to convert Footnote to Endnote and Endnote to Footnote.
We have an option to define Hyperlinks and Cross references, where we can define new hyperlinks and also urls to hyperlinks. We have an option to define bullets and numbering to the selected text block. We also have the option to Bullets and numbering to text and also restart / continue numbering.
We have an option to Insert Special Character as Symbols, Markets, Hyphens and Dashes, Quotation Marks and others. We also have an option to Insert White Space, where we can give various types of white spaces between the text. We have an option to Insert Break Character, where we can learn different types of line breaks. We have an option to fill a blank text block with some text using Fill with Place Holder Text. We have an option Show Hidden Characters, which shows the symbols like paragraph break and others.